Linked Banner

People Who Leave A Great Impression On Us

Showing posts with label Tags Rubber Stamp G483. Show all posts

Saturday, May 14, 2016

Happy Birthday Bear

Happy Saturday, crafty friends!  Julie here today from Muddy Paws & Inky Fingers, sharing a birthday card. This card is also my entry for the C.R.A.F.T. challenge that Great Impressions Stamps is sponsoring.  The theme is - birthday.

This card uses 2 Great Impressions Stamps:  F631 - Bear With Flowers,  and G483 - Tags.

I colored F631 - Bear With Flowers with Copic markers.  The card base was cut out on my Silhouette Cameo.  The Prima flowers started out white, but were inked with several colors of Tim Holtz Distress Inks. The butterfly is a Cheery Lynn die.

Have you joined the Great Impressions Stamps Birthday with Bling challenge yet?  Make a card and enter it in both challenges!  Double duty! Yea!    Shop in the Great Impressions Store for many, many wonderful stamps for birthdays and ANY occasion!

Saturday, April 30, 2016

A Birthday Mouse

Happy Saturday, fellow crafters!  Julie here today from Muddy Paws & Inky Fingers.  

I have a birthday card to share today, with an adorable mouse, spreading birthday cheer....


This card uses E838 Mouse With Flower and G483 Tags rubber stamp.  I colored the Mouse With Flower with Copic markers.  The Tags rubber stamp is a set of 4 tags.  I cut them apart, using just one of them on this card. 

There'll be a new challenge starting tomorrow  -- come join the fun! 

Don't forget to do some shopping at the Great Impressions Store!

Wednesday, April 15, 2015

Wonderful Wednesday with Joni

Today's card features these beautiful flowers F358 Growing Tall Flowers. 
I stamped the image three times and colored each stem of flowers a different color. 
Then I added some sequins to the centers.
I added one of my favorite Great Impression stamps G483 Tags Rubber.

Wednesday, March 25, 2015

Wonderful Wednesday with Joni

Today's card was inspired by the movie, The Sound Of Music. I'm picturing the hills covered with flowers!
I watercolored the F599 Buttercup with distress markers and Wink of Stella clear glitter pen. 
I added the Enjoy the Day sentiment from G483 Rubber tags.

Wednesday, July 16, 2014

Wonderful Wednesday with Joni


Today I have F582 Potted Puppy from Great Impressions. I spotted him up using copic markers. 
I used some dies to layer my image. 
Then I added the sentiment You're Special from the  
 This is my go to stamp set, love it!
Then I added some twine and a wooden star for accents!
Don't forget our monthly challenge here!

Friday, July 4, 2014

Friday Fun

Hello Friends!

Katy here and there are so many exciting things going on today!  First let me wish all of our U.S. fans a Happy July 4th!

Second, we are changing how we do the tutorials.  There will be a new tutorial at the beginning of each month from a different Design Team Member.

So today it is my turn to show you a tutorial-how to make dryer sheet flowers.  First let me show you my card using Great Impressions Stamps:


The butterfly stamp that I used has three butterflies so I fussy cut the one I wanted and glued down his body.  This left the wings to kind of bend upwards to make him look like he's fluttering.

The sentiment is from the Tags stamp which I also cut out.  I used a tooth pick that I added some extra brown ink for the flag.

The Simple Elegance stamp is the red embossed swirls on the paper with the text.  This is one of my favorite stamps!

The Rose stamp is the text in the background.  I embossed the stamp image with clear embossing powder and heat set it.  Then I used distress inks to bring out the text.


Now it's time to make the flower!  

Supplies:  2 or more used dryer sheets
                Flower Die Cut (I don't know if the framelets will cut through the dryer sheet)
                Color mist-I used Dylusions and Heidi Swapp
                Brad 
                Button for middle
                Crop-a-dile

The flower is made out of a couple of used dryer sheets and this die cut.  Finally, laundry is fun!  OK maybe not! ;)  If you don't have a die cut machine you can cut and layer circles for a different looking flower.


After your flowers are cut, mist them.  I used a blue and a red.  Let the mist dry.  

I have a spray box that I use, but I always put tissue paper, cardstock, or wax paper underneath so it catches the overflow.  Then you have cool misted paper for another project.


Then I stack the flower on top of each other until I like my flower.  I used a Crop-a-dile to make the hole through all of the layers and put on the brad.  This way I could move my flower around to figure out where I like it.  Then I realized I didn't like the brad so I glued a button on top of the brad.  The brad can be optional.  

Here's a close up of my card.  


Thank you for stopping by!  And remember for more cool tutorials check us out on Pinterest and for more daily inspiration check out our Facebook Page!


Monday, May 19, 2014

Painter's Tape Technique

Happy Monday Great Impressions Stamp Friends!

Kendra from Luv 2 Scrap 'n Make Cards here today to share a fun technique with you!!
I am so excited!!

Have you tried the Painter's Tape Technique?
I think it is so fun and has a nice finished result!

Start by gathering your supplies:
Painter's Tape
Inks
Card Base Layer (Mine is 5 1/4" x 4")
Stamp (I am using Seeded Dandelions (G298))

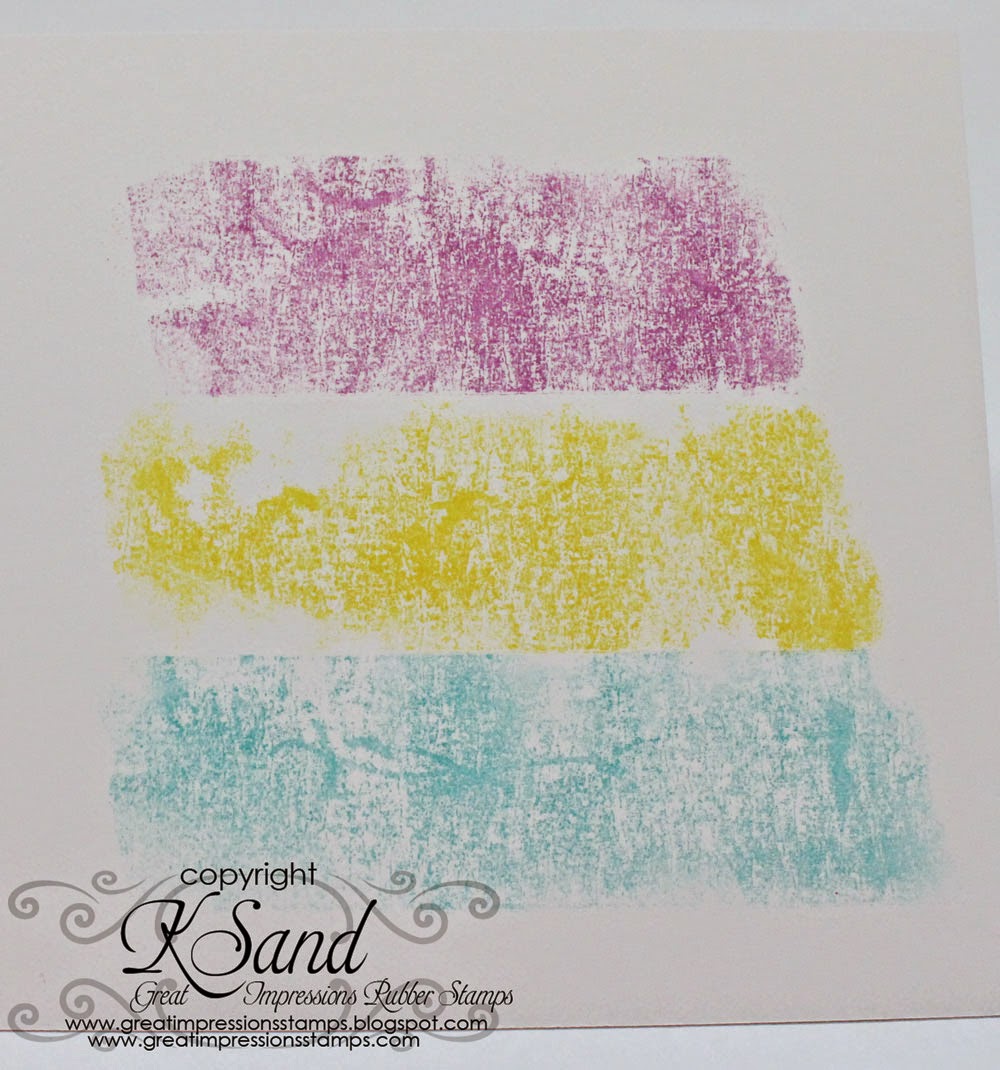
Rip off a few pieces of painter's tape to the length you would like.
For my card today, each piece was around the same size.

Next place the painter's tape on the ink pad you are going to use first, sticky side on ink pad.
Press your fingers across tape gently to ink it up!

The tape will look something like this:

Now you are ready to press the piece of tape onto your cardstock piece:

A look at the first "stamped" tape:

And a look at all the stamped "tape" before I stamped my image:

Now you can stamp your image! 
I used black so that it would really pop off the colored stamped tape!
(Sorry I forgot to take a pic of this step!)

My finished card:
What a fun technique!!

The "Enjoy the Day" tag is part of the Tags Rubber Stamp (G483) set!

More details on my personal blog here.

---------------

Thank you for stopping by to see my project today!
Be sure to stop back for more wonderful inspiration!

Join in our monthly challenge as well!  
We'd love to see what you create!

Check out the Great Impressions shop for more wonderful stamps!!

Have a wonderful week!


Monday, April 14, 2014

Birthday Cake

Happy Monday Great Impressions Stamp Friends!

Kendra from Luv 2 Scrap 'n Make Cards here today to share a card with you!

Our current monthly challenge is Polka Dots, Pink and Glitter!
What a fun combination!

Be sure to join in, we'd love to see what you create!

With the challenge in mind, I thought it would be fun to create another fun girly birthday card:
I used the Floral Cake (E819) for my main image! Yummy!!
The "Happy Birthday" tag is from the Tags Rubber Stamp set (G483).

More details on my personal blog here.

---------------

Thank you for stopping by to see my project today!
Be sure to stop back for more wonderful inspiration!

Check out the Great Impressions shop for more wonderful stamps!!

Have a wonderful week!


Wednesday, April 9, 2014

Wonderful Wednesday with Joni


It's Joni.
Well it is finally warming up here in NH. 
So maybe we can Enjoy the Day.
 I stamped the main focal image: H196 Garden Shed with Tuxedo black ink and colored it in with copics. 
 I used part of the G483 Tags Rubber greeting to make the sentiment. 
With some dies I created the background scenery.

LinkWithin

Related Posts Plugin for WordPress, Blogger...